Correct fly ash bricks plastering typically uses a 1:4 or 1:6 cement mortar mix, depending on the coat and application. Unlike traditional clay bricks, fly ash bricks have a smoother surface and lower water absorption, so proper surface preparation, suitable mortar and correct curing are essential to achieve strong plaster adhesion and minimise cracking.
Why Fly Ash Bricks Require a Different Plastering Approach
Fly ash bricks are manufactured to precise dimensions under controlled conditions, in accordance with IS 12894. Their uniform shape and relatively smooth surface reduce mortar consumption during masonry, but they also require careful plaster preparation to ensure adequate bonding.
Compared with conventional red clay bricks, fly ash bricks absorb less water. If the wall is left completely dry before plastering, the mortar may not develop an effective bond with the substrate. Light dampening before plaster application helps achieve better adhesion without saturating the masonry.
Another important consideration is surface cleanliness. Dust, loose mortar and laitance should be removed before plastering to create a sound base.
Recommended Mortar Mix Ratio for Fly Ash Bricks
The appropriate fly ash bricks mortar mix ratio depends on whether the plaster is being used as a base coat or finishing coat.
| Application | Recommended Cement : Sand Ratio | Typical Use |
| Base coat | 1:6 | General internal and external wall plaster |
| Finish coat | 1:4 | Smoother finishing layer where specified |
Well-graded, clean sand should always be used. Excess water should be avoided, as it weakens the mortar and increases the likelihood of shrinkage cracks.
The final fly ash bricks cement mortar ratio should also comply with the project specifications and relevant Indian Standards, including IS 1661, wherever applicable for cement plaster work.
Step-by-Step Plastering Process for Fly Ash Brick Walls
- Prepare the wall
- Remove dust, loose particles and mortar droppings.
- Fill open joints and repair damaged areas before plastering.
- Lightly dampen the wall
- Moisten the masonry evenly without over-soaking.
- The surface should be damp rather than dripping wet to improve mortar bonding.
- Apply the base coat
- Use the specified mortar mix.
- Spread the plaster evenly and maintain consistent thickness.
- Compact the plaster well to eliminate air pockets.
- Apply the finishing coat
- After the base coat has stiffened sufficiently, apply the finishing coat if required.
- Finish using appropriate tools to obtain the desired surface texture.
- Begin curing after plastering
- Start curing once the plaster has hardened enough to resist surface damage.
- Maintain regular curing to support cement hydration and reduce shrinkage cracking.
Ideal Plaster Thickness for Fly Ash Brick Walls
Maintaining the correct fly ash bricks plaster thickness helps produce an even finish without unnecessary material consumption.
| Wall Location | Typical Plaster Thickness |
| Internal walls | 12 mm |
| External walls | 15 to 20 mm |
Excessively thick plaster may increase shrinkage stresses, while very thin plaster may not provide adequate surface protection or durability.
Common Plastering Mistakes That Cause Cracks
Many cases of plaster cracks on fly ash brick walls result from workmanship rather than the bricks themselves.
Common site mistakes include:
- Skipping light wall dampening before plastering.
- Using poorly graded or contaminated sand.
- Adding excessive water to the mortar.
- Applying plaster over dusty or loose surfaces.
- Plastering during extreme heat or strong winds without suitable precautions.
- Applying overly thick plaster in a single coat.
- Inadequate or inconsistent curing after plaster application.
- Ignoring movement joints where specified in the structural design.
Careful supervision and adherence to standard site practices significantly reduce these problems.
Curing Time and Aftercare
Proper curing fly ash brick plaster is essential for strength development and long-term durability.
As a general practice, cement plaster should be cured for at least 7 days, with longer curing often recommended during hot or dry weather. Continuous moisture allows proper cement hydration, improving strength while reducing drying shrinkage and surface cracking.
Freshly plastered walls should also be protected from direct sunlight, heavy rain and mechanical damage during the early curing period.
Fly Ash Bricks vs Red Bricks, Plastering Differences
| Fly Ash Bricks | Red Clay Bricks |
| Smooth, uniform surface | More irregular surface texture |
| Lower water absorption | Higher water absorption |
| Requires light dampening before plastering | Often absorbs more water from mortar |
| Consistent dimensions help achieve uniform plaster thickness | Greater dimensional variation may require thicker levelling plaster |
Understanding these differences helps contractors select appropriate plastering methods rather than applying identical practices to both materials.
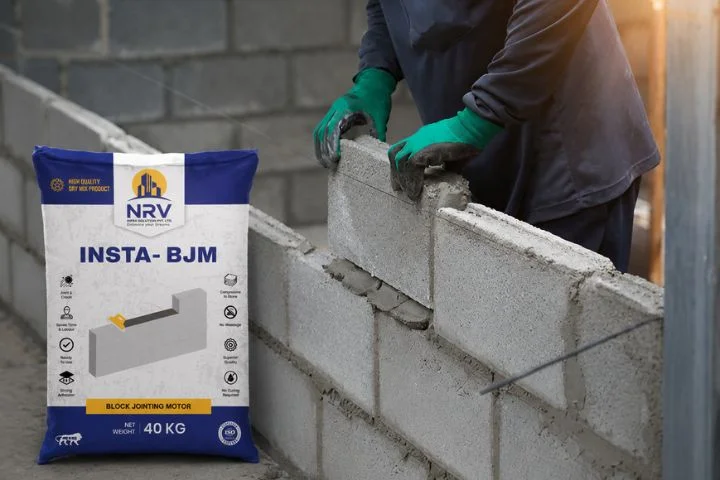
NRV Infra, a fly ash bricks manufacturer in Mumbai, advises builders to follow project specifications, use quality materials and maintain proper curing to achieve durable plaster finishes.
Building Durable Walls with Quality Materials
Using quality masonry units together with correct plastering practices produces stronger, more durable wall finishes. Following recognised construction standards, selecting appropriate mortar mixes and maintaining proper curing are all essential. As a trusted fly ash bricks manufacturer in Mumbai, NRV Infra supports best construction practices through consistent product quality and practical technical knowledge.
FAQs
Q1. What is the best mortar ratio for fly ash brick plastering?
Answer: For most projects, a 1:6 cement ratio is commonly used for the base coat, while a 1:4 ratio may be used for finishing, depending on the specification.
Q2. Do fly ash bricks need to be wetted before plastering?
Answer: Yes. Fly ash brick walls should be lightly dampened before plastering. They should not be saturated, but a damp surface improves mortar adhesion.
Q3. How thick should plaster be on fly ash brick walls?
Answer: Typical plaster thickness is 12 mm for internal walls and 15 to 20 mm for external walls, unless project specifications require otherwise.
Q4. Why do fly ash brick walls develop plaster cracks?
Answer: Cracks are usually caused by poor workmanship, inadequate curing, excessive water in the mortar, incorrect sand grading, overly thick plaster or plastering under unsuitable weather conditions.
Q5. How long does fly ash brick plaster take to cure?
Answer: Cement plaster should generally be cured for a minimum of 7 days. Longer curing may be beneficial in hot weather to reduce shrinkage and improve durability.